Cool Cats (Warmer Now)

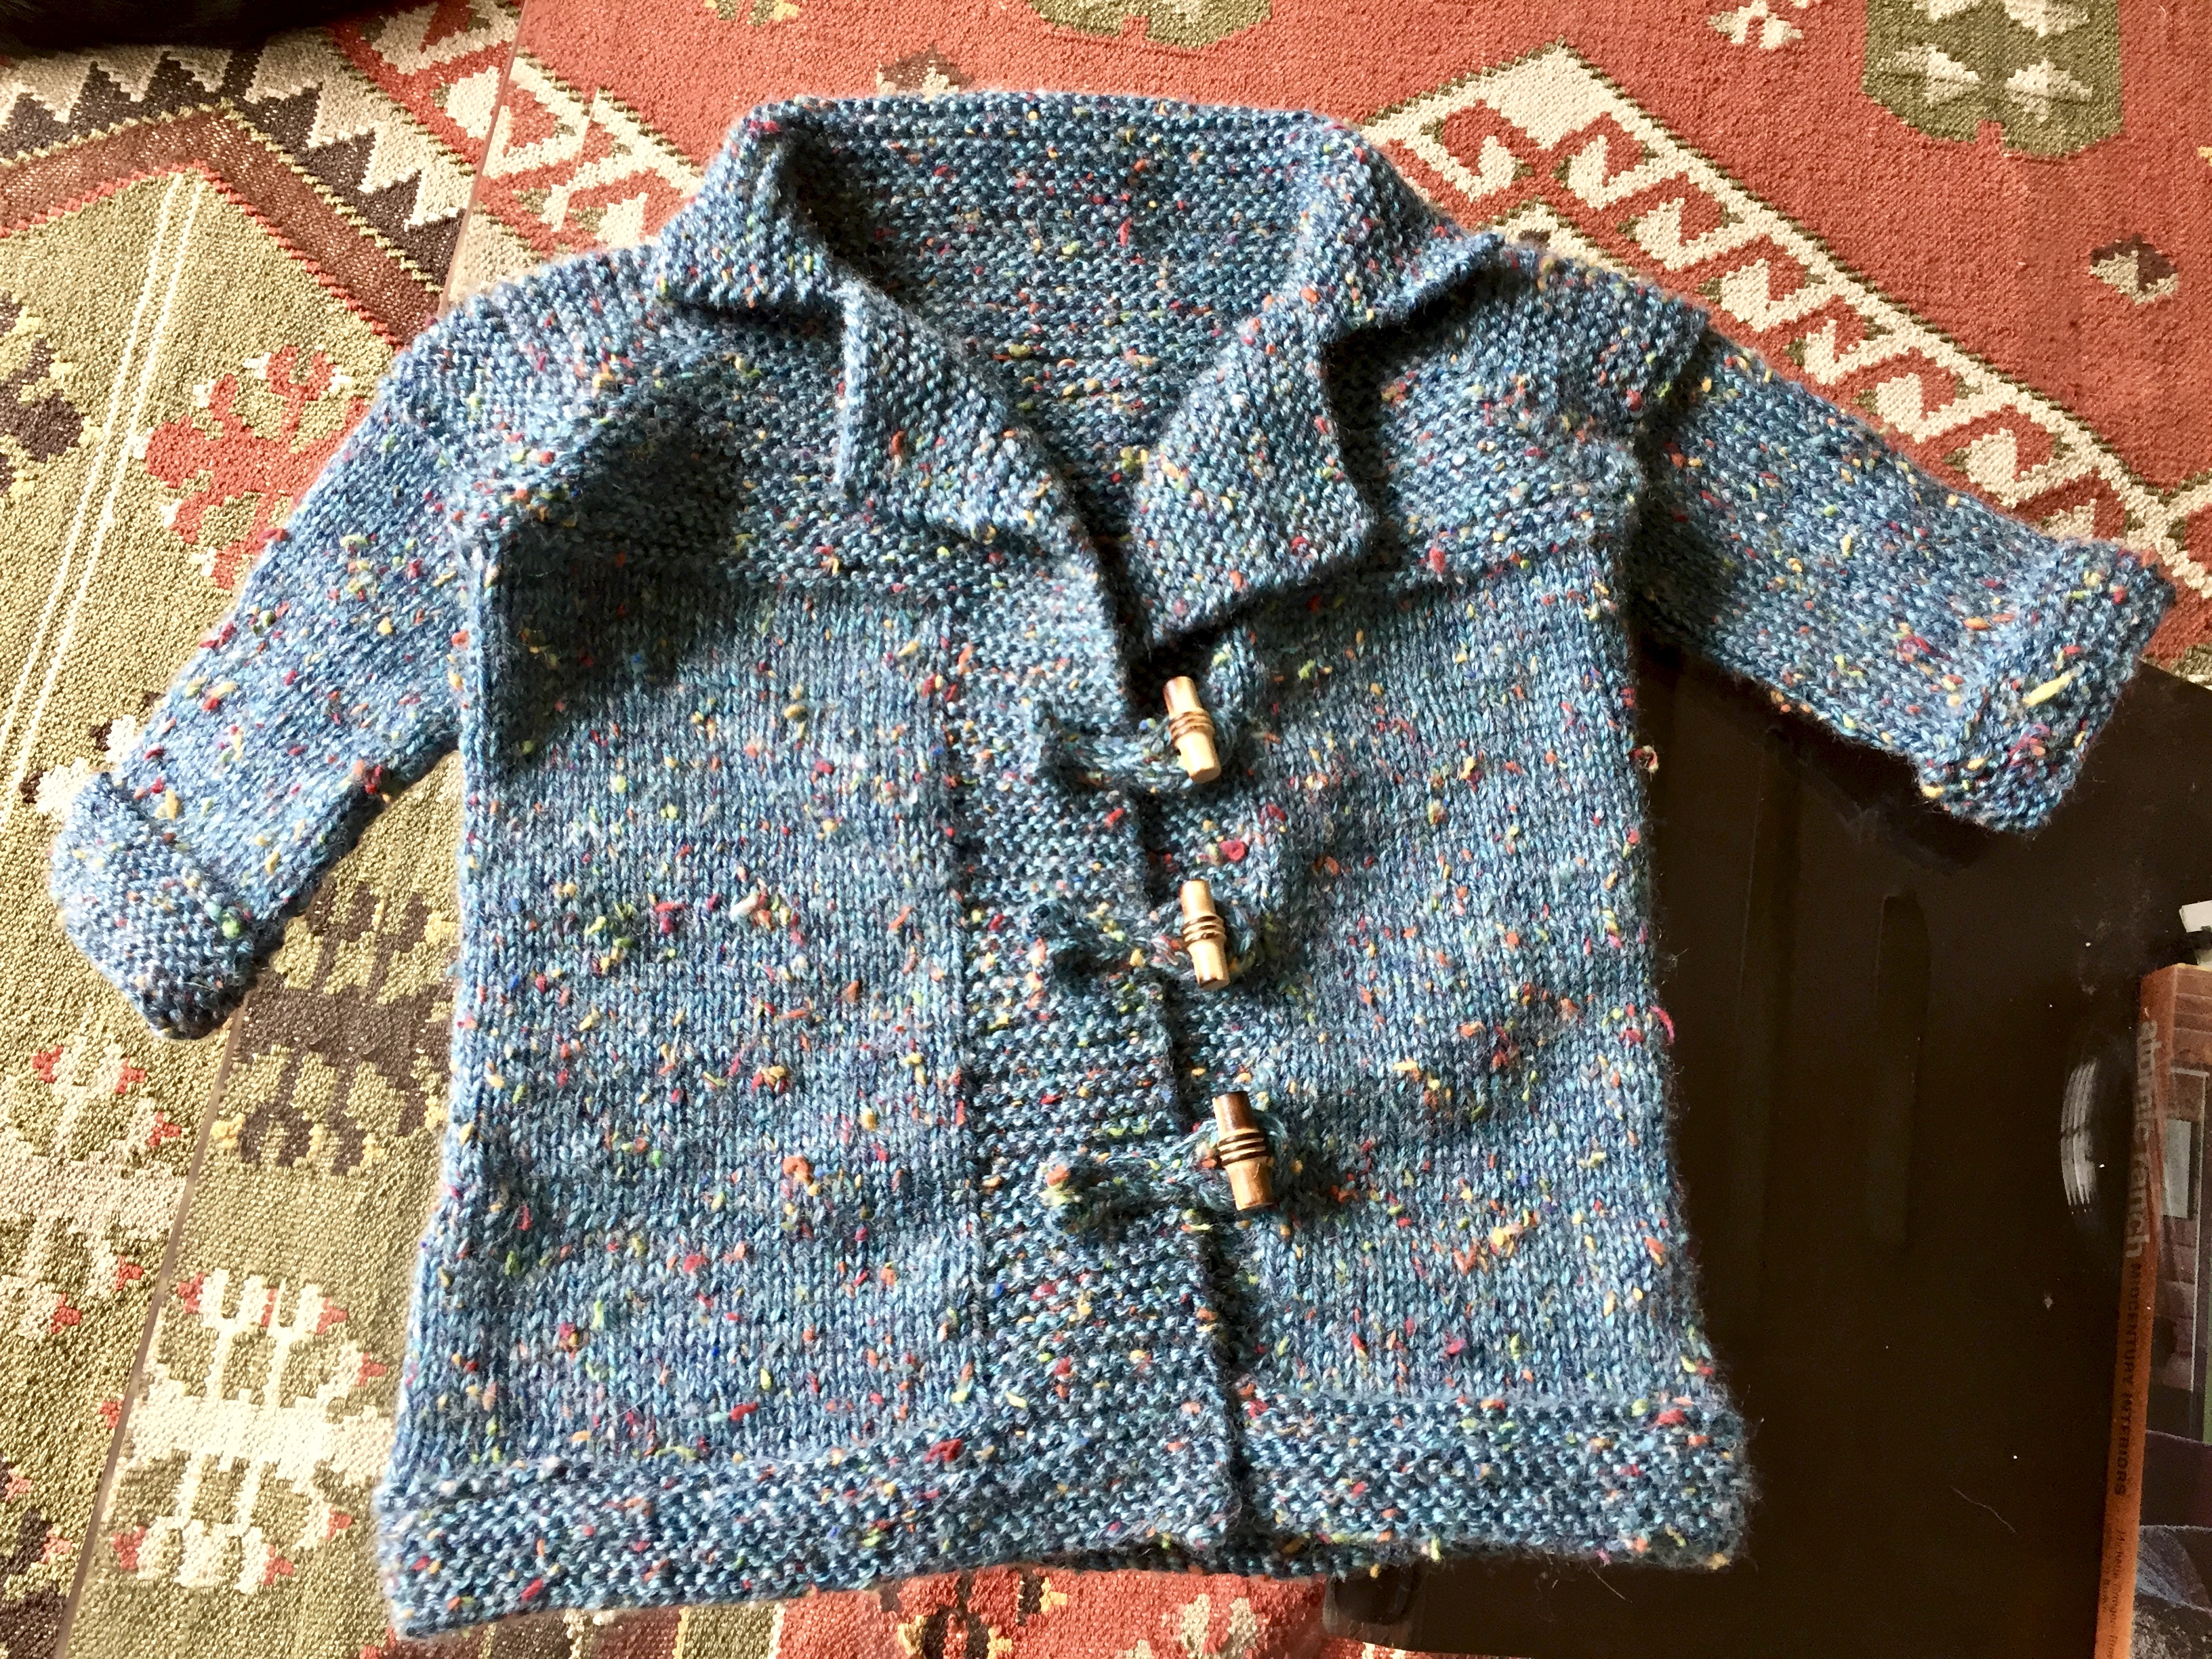
In Michigan, October brings a more serious chill to the air and I find myself tempted to turn on the furnace. While I can add a sweater, my cats were glaring at me to let me know they can’t. Many years ago I went to thrift stores collecting wool sweaters. I planned to felt them and use the felted fabric to make a jacket for my daughter. She was 4 then, and she is 17 now so clearly I have missed the moment!

Recently I saw a project that constructs a pet bed from old sweaters where you stuff the arms and body (see link) creating a bit of a hug. Since I still needed to find a project for the 13 year old felted sweater material; I designed my own cat beds. To felt the sweaters, I simply washed them in hot soapy water which shrinks the wool and locks the fibers together preventing the sweater from coming unraveled when cut into pieces. Three of the four sweaters were 100% wool and the pastel striped sweater was over 50% wool blend which resulted in a felt with some visible knitting remaining. Constructing my own bed design allowed me to make it just the right size for my cats.

I cut the fabric for the bolster to measure 6 inches wide and long enough to complete a circle around my base with overlap. I used 2-4 pieces of felt for the bolsters depending on the color pattern I created. For the base, I used a platter and added one inch to create an appealing shape for a cat nap.

Using a simple blanket stitch I attached the sides to the base (which contained no stuffing). I sewed all the pieces together at one time which made the project come together quickly.

Using polyester batting and a long wooden dowel I stuffed the bolsters and then sewed those pieces together with a simple running stitch. I placed them in some of Simon and Kimbers favorite spots and they seem to enjoy them!

Stay warm and be well!

Garden Crafts: Botanical Note Cards

In my previous post Garden Crafts: Pressing Flowers I shared how I have been preserving my garden by pressing and drying flowers and leaves. I thought I would take a minute to share with you some of what I did with those dried pressed flowers. I purchased some blank note cards at my craft store and applied Matte Modge Podge to the card, applied the flower or leaf and then sealed it over with more Modge Podge. I used them immediately to send thank you cards and a birthday greeting and learned they didn’t all travel well. To make sure the delicate petals don’t flake off make sure they are placed on a nice layer of Modge Podge and that they are entirely covered in Modge Podge to seal them in. After I learned this I included a rectangle of parchment paper to protect the front of the card from sticking to the envelope. I also used some elements from my spice cupboard by adding poppy seeds to give it texture and outline the delicate white petals.

Note cards created with dried pressed flowers.

Now that it is autumn in Michigan I have loaded up my flower press with leaves I’ve collected. I am unsure if they will keep their brilliant fall colors but I am hopeful.

I am trying to collect enough flowers and leaves etc. to have on hand the materials to design more cards over the winter and perhaps try framing some to hang on the walls. I hope this has inspired you to “harvest” items from your garden in a new way. Enjoy!

Garden Crafts: Pressing Flowers

I’ve dreamed of growing flowers that can be cut and used in floral arrangements. Unfortunately, my cats prevent me from having nice things including houseplants, cut flowers and nice furniture. The tuxedo cat is Simon (the destroyer of floral arrangements) and the tabby cat is Kimber (the destroyer of houseplants).

Years ago my mother-in-law gave me her flower press which consists of two wooden boards held together with screws and wing nuts. It contains layers of paper to absorb the moisture in the plants. I refreshed the old paper and replaced it with cardboard, construction paper, paper towels and parchment paper. I positioned the fresh flowers between the paper towel and parchment paper to both prevent sticking and absorb moisture. Of course you don’t need a flower press, a heavy book will do. You can speed up the process by using the microwave (YouTube tutorial here: https://youtu.be/IIb879Uhda8) however you will not be able to get them as flat as the flower press which is an important detail for some projects. I marked my calendar and tightened the screws after a week and removed them after two weeks. Your results may vary depending on the types of flowers and conditions in your home.

I was most impressed by the roses which flattened out and dried into cute little button shapes. The petunias surprised me by starting out red and ending up purple!? The pressed petunias were translucent, delicate and painfully thin. I was disappointed that the nasturtium lost some of the painterly effect seen in the leaves prior to drying. The small coreopsis petals hung together well and dried beautifully.

I decided that the best way to store these delicate beauties would be under sheet protectors. I filled the sleeves with card stock and gently placed the dried flowers, leaves and ferns into the sleeve. The static under the plastic was frustrating for placement but was just what I needed to keep them from falling out. Now I have a binder to help me store and collect the delicate specimens. Next, I will use Modge Podge to fasten them to greeting cards or position them for framing.

My bedroom has floral Audubon prints and I imagine framed pressed flowers will be a welcome addition. I hope that preserving the garden in this way will reminded me of the warm summer months when we are deep in a Michigan winter.

A Point of Pride….

So here in Michigan a fall chill or even full-on winter weather has been known to come too early.  Notably, we often have to send our kids out to trick or treat in their coats and one year it snowed on Halloween! I am not sure when it started, but somewhere along the way I made it a point of personal pride to avoid turning on the furnace until the last possible moment.  September is totally unacceptable and if you’re such a cupcake that you turn on the heat this early, then yes, the rugged people of Michigan are judging you. Now that it is October we are getting into some marginal territory; where it is acceptable in *certain circumstances* however, not fretting about your gas bill when you open the door 50 times for trick or treaters is the real treat.

Here is a Weather Channel chart for when the first snow can be expected. If your area is not listed, follow the link below for other regions in North America.  In 2006 we had record snowfall on October 12… these are the certain circumstances mentioned above.

Avg. First Snow By… Earliest First Snow Avg. Season Snow
Marquette Oct. 13 Sep. 13, 1923 203.6 inches
Rapid City Oct. 16 Sep. 13, 1970 41.6 inches
Int’l Falls Oct. 18 Sep. 14, 1964 71.8 inches
Duluth Oct. 21 Sep. 18, 1991 81.5 inches
Bismarck Oct. 26 Sep. 12, 1903 50.1 inches
Sioux Falls Oct. 31 Sep. 25, 1939 43.4 inches
Mpls./St. Paul Nov. 2 Sep. 24, 1985 53.4 inches
Fargo Nov. 2 Sep. 25, 1912 49.5 inches
Omaha Nov. 10 Sep. 29, 1985 28.4 inches
Cleveland Nov. 10 Oct. 2, 2003 68.3 inches
Des Moines Nov. 10 Oct. 10, 2009 36.8 inches
Milwaukee Nov. 13 Oct. 6, 1889 49.3 inches
Detroit Nov. 15 Oct. 12, 2006 43.8 inches
Chicago Nov. 16 Oct. 12, 2006 37.1 inches
Columbus Nov. 20 Oct. 10, 1906 27.1 inches
Indianapolis Nov. 23 Oct. 18, 1989 25.5 inches
Kansas City Nov. 27 Oct. 17, 1898 18.2 inches
Cincinnati Nov. 28 Oct. 19, 1989 21.3 inches
St. Louis Dec. 3 Oct. 20, 1916 17.7 inches
Wichita Dec. 3 Oct. 22, 1996 15 inches
Louisville Dec. 8 Oct. 19, 1989 13.4 inches

https://weather.com/storms/winter/news/first-snow-average-date

Portage Michigan is about half-way between Chicago and Detroit so there are two techniques I use to maintain my ability to proudly say “I have not turned on my furnace yet” even when the temps get chilly:

  1. Use the oven
  2. knitting

Making a pumpkin pie or roasting some vegetables is a great way to get your kids to stop complaining about the cold.  Here is what I prepared today …

IMG_4471
Roasted brussels sprouts, potatoes and cauliflower rice drizzled with Siracha.

This was a good way to keep the oven on for at least 45 min shoveling trays in and out at 425 degrees.  Just in case I am the only one who eats the brussels sprouts I baked an Apple Dapple Cake (sans frosting) to make sure everyone has a full tummy.

fullsizeoutput_b86

I could not bring myself to add the frosting after dumping two cups of sugar into the batter.  The cake kept the oven on for one hour and we are all pretty happy about that with overnight temps in the 40’s.

The other approach is knitting.  This is the time of year we start wearing hats in the house; including snuggly sweatshirts, socks and scarves.  I have just finished knitting for my new grand niece and can begin everyone’s hat for this year any time.  Here is a collection of hats made last year; most of them gifted.

IMG_0012

fullsizeoutput_a39

This mini Mackintosh Jacket will need to wait for the little one to grow into it.  However, having the yarn piled into your lap is a nice way to stay warm. Here’s to making it to Halloween before turning on the furnace, wish me luck!

D.I.Y. Halloween Wreath

So Pinterest is a wealth of inspiration and with a trip to your Dollar Store and some spray paint you can make this basic snake wreath in a couple hours. For a couple more dollars you can give it some flair with a skeleton and roses.  Keep reading to learn how.

Getting Started

If you have access to some vines (grapevines or Virginia creeper for example) you have a free resource.  See my blog post on working with grapevines to get this basic wreath shape https://piratepieman.home.blog/2018/09/25/grapevine-time. Or, you can purchase a grapevine wreath from your local craft store.  Joanne’s Fabrics and Michaels are always running a promotion or offer a coupon so depending on the size you want this could cost about $5-$10.

IMG_2434 2
Grapevine Wreath

Supplies You Need

  • vine wreath
  • cool temp mini glue gun
  • wire
  • wire cutters
  • pliers
  • spray paint- metallic bronze
  • dollar store: skull, snakes, bugs, flowers, skeleton hand tongs, ribbon, mini hat

 Assembly

I used a combination of wire and hot glue to affix the snakes and bugs to the wreath.  I also wove the snakes in among the vines; do what works to keep them secure.

IMG_1213
Add dollar store snakes

When everything is attached begin spray painting.  It is easy to miss spots because of all of the twisty vines and snakes so take time to walk around the project and turn it around so that you get an even application.   This process may take a couple coats.  I did mine outside so clean up was simple and the area was well ventilated.

IMG_1214
Halloween Wreath made from grapevine, toy snakes and spray paint.

This is where going back to Pinterest is a lot of fun.  People are super creative and I was inspired by wreaths using skeletons.  I found a simple skeleton head, some arms and black roses with eyeballs at the Dollar Store.  As you can see I thought I would use the black spooky fabric in my design but instead used some gold mesh ribbon; do what appeals to you.  I poked holes in the back of the skull and threaded wire through to secure it to the wreath.

IMG_4405

I got my Halloween Box up from the basement and repurposed a costume headband.  I found the key to this project was the even application of the snakes all around the wreath and then using a pop of color to add some luxury and visual interest.

IMG_4408
Halloween wreath.

In past years I have hung the basic snake wreath with just a bow and I liked how the snakes are camouflaged and hidden in the simple design.  However this year I decided to change things and added embellishments.  About every other year I find I get a little tired of my designs and I take items off or just add new elements so that I am excited to see it on display.

Happy Halloween!


Grapevine Time!

In 2011 my husband James innocently brought home a Niagara Grape Vine and asked me “where should we plant it?”  I thought our stark chainlink fence separating the front and back yards would be a nice structure to support the vine and, into the ground it went.  On September 8th, 2013 we got our first (and best) harvest of grapes.

It was a big project but I made some mediocre grape jelly which was tasty but runny.  Most years we allow the birds (often Cardinals) to have the grapes (and raisins); the primary harvest for myself has been the VINE!  Since I started using grapevines for projects in 2014 I have learned a few things about crafting with vines, here is what you need to know:

Supplies:

  • Gloves
  • Pruning shears
  • Measuring tape (so you know how big your wreath will be)

There is a sweet spot for working with grapevines.  Too soon and you might as well be working with asparagus, too late and you are working with toothpicks.  I have made both of these errors.  This photo shows the magic balance between green vines and drier areas that are darker in appearance.  If the canes are too dry they can be soaked in water to make them less brittle and if they are too green you can let them dry out a day, maybe two.  Even if the canes break or splinter you can continue to make loops and wrap them up.  When the globes or wreaths are dry you can adjust the vines to improve the overall appearance.

IMG_2434 2
Grapevine Wreath

I usually start from the ends of the individual vines and remove leaves with my hands and then with sheers trim the tendrils away from the fencing and other vines to produce a pile of canes.  I sort the largest canes for bigger wreaths and begin arranging them in circles using the longest most flexible vines to wrap around the bulk to secure the wreath.

This year (2018) I got started a little too early and the vines were easily broken (like asparagus) but I had a lot of them so I pushed ahead anyway.  As you can see one grapevine in a sunny location in West Michigan can give you a lot of material to work with.

Because in past years I have made a lot of wreathes, I was interested in trying some 3-D globes I saw on Pinterest.  Off to the Dollar Tree I went for some beach balls.  They worked well to hold up the vines while I wrapped them.  In addition to these globes I made a smaller one freestyle without an armature; and some larger wreath shapes (since I already have some small and medium wreaths from last year.)  It takes a couple days in the sun for the vines to dry and turn reddish brown.  I fed my failed attempt to fashion a basket to Donald https://piratepieman.home.blog/2018/09/11/feeding-donald-our-hot-compost.  It was so bad it couldn’t even be photographed well.

IMG_4383
I tried to keep the vine’s tendrils for visual interest.

IMG_4381
2018 grape vine projects.

And once your shapes have dried you are ready to start doing some crafting.  I have not fully sorted out what I am going to do with my new globes so if you have any suggestions please leave them in the comments below.

Examples of how to decorate your grapevine wreaths.

IMG_4399
Autumn wreath embellished with pinecones and artificial flowers.

I gave a wreath to my friend DeLight and she created this glorious monogrammed beauty.

IMG_0001
Winter wreath

IMG_4408
Halloween wreath.

Look for my tutorial on making the Halloween Wreath here:

https://piratepieman.home.blog/2018/09/26/d-i-y-halloween-wreath

Like Childbirth, Eventually You Forget The Pain.

The pain of refinishing twin 80 year old Simmons pressed metal dressers.  I mentioned in a previous post that this summer my mother in law moved into assisted living and the home she built and lived in for 60 years was sold.  There was a lot of sorting and deciding what artifacts we wanted to become a part of our hoard and what was going to have to find its own new path.  My husband and I have never invested much in furniture and my now 14 year old daughter was still using the dresser we got at Target to house her baby clothes; so we brought home two Simmons pressed metal dressers.  These dressers had been living in her basement holding her linens and gift wrap for fifty years.

simmons pressed metal furniture
1930’s catalog insert for Simmons furniture collection.

The dressers had been painted multiple times so I naively set out to strip them and paint at least one for my daughter.  During my research I stumbled across what hipsters are doing with these dressers and found this:

IMG_0031
Similar pressed metal dresser advertised on Urbanremainschicago.com

So with too much time on my hands I got started.

IT WAS HELL.  It took MONTHS to strip all the paint meanwhile I was parking in the driveway (while the dressers lived it up in the garage), I sustained chemical burns (yes I did try CitriStrip and it was too cute to get the job done) and ruined quiet a few outfits and one pair of shoes.  I started in March before it got too hot but that discouraged the CitriStrip from working; and when it got hot my rubber chemical resistant gloves filled with sweat that would pour out every time I lifted my hands.  Hell I say!

This slideshow requires JavaScript.

As you can see both dressers were stripped, one is finished and has become part of the family however the other one continues to sit in the garage rusting.  Here is why: I read Michelle Hinckley’s blog (of course only after I was deep into the project) and I was not sure if it was providing me an  inspiration or warning?

Her blog post was hilarious, and I felt so much better after seeing what she went through but I had no idea how to achieve that finish!  It was heavenly and magical and I want it.    My husband did a test area with steel wool and it became a mirror finish. OH-HELL-NO. So what do I do?

Perhaps I should take my childbirth analogy to heart; polish the dresser, accept it’s flaws, and seal it with furniture wax and bring it into the guest bedroom for the winter.  When the pain of labor from this past summer fades I can continue to try to get that smooth even finish Michelle Hinckley wisely paid someone else to deliver.

Grief and a Garden Goose

2018 has been full of changes.  In addition to the deaths of some dear friends and family, I have had to endure some challenging transitions.  As a therapist, I am well acquainted with theories about grief and am practiced in how to offer support, but nowhere is it written you need a cement garden goose.  In May, my mother-in-law Pearl moved out of the house she built with her husband in 1957 and into an assisted living facility.  It was a chilly day early in the morning and I was sent with a list of things my husband wanted me to buy from the estate sale.  I waited in line with thirty or more antique dealers and collectors (she had a lovely doll collection and an array of antique furniture and housewares) and I could see this cement garden goose standing amongst some chairs lined up on the driveway.  Boy was I surprised to find myself getting worried that someone might buy this goose before I could claim it.  Nowhere on the list was “one garden goose.”

When I met my husband in 1991 and started visiting his parents for dinners and swimming; this cheerful goose named Petunia welcomed everyone at the front door. It was dutifully dressed by Pearl or her grandkids for each of the holidays. When we returned to Michigan after 12 years living in New Mexico, our daughter took over updating Petunia’s outfit.  I had no idea this lawn ornament found a place in my heart.  While not normally a part of my aesthetic I did not struggle with my need to have it, and it came home with me along with some dolls and a quilt.  It was great to see my daughter’s enthusiasm that it was coming to live with us.  I think Pearl was as surprised as I was that of all the items in the house Petunia was saved from the sale.

This means now I have a family tradition to uphold, and I am taking the responsibility pretty seriously.  Petunia’s wardrobe was a little worse for wear (Raggedy Ann’s handmade dress was torn and sun bleached and her country dress with straw hat couldn’t be saved) but Pinterest was a good source of inspiration.  I rejected a lot of the outfit designs that gave Petunia arms, dressed her like a turkey or put her in snorkeling gear- come on SHE IS A GOOSE.  But I loved the idea of a hula skirt for summer and she would of course need a halloween costume.  I also rejected the idea of painting her.  I liked that the grey cement melded with the tones of the weathered deck and the stone details at the front of the house; she looked right at home.

Dollar Tree was a wonderful place to find accessories to help me get started.  Since it was summer I knew they would have a lei for her hula costume and I was delighted to find mini patriotic hats for the 4th of July (I have no idea what people need mini hats for if they don’t have a goose of their own.) I fashioned a hula skirt from some sisal rope I encouraged to unravel in tassels.  I returned in September and found the sparkly witch hat and a toddler’s fairy skirt that fit petunia perfectly!

Amidst all of the giving up and letting go this little project helped tie my family together.  When everything seems quite serious and somewhat dark this silly cement goose reminds me not to take things too seriously and to smile.  Petunia says “welcome” at my home now and she does a good job too.

UNADJUSTEDNONRAW_thumb_741
Pearl (2013) the original owner of Petunia the garden goose.